Add a Survey to Your Webpage
The survey webpart generates question/answer content on your page which can be published and unpublished (i.e. made "active" and "inactive").
Survey Setup Instructions
1. Add the survey web-part to your page.
2. Click the Choose Survey button.
3. Click Add New Survey.
4. Enter a name for your survey in the Survey Name field.
5. Enter instructions/introductory information for survey takers in the Welcome Text field.
6. Enter a message for survey takes to see once they've completed the survey in the Survey Completed Text field (this message will appear after they submit their answers to your survey questions).
7. Click the Save button.
8. Click the Add/Edit link under Pages.
9. Click Add New Page.
10. Enter a title for the page in the Page Title field.
11. Click the Save button.
12. Click Add/Edit link under Question Count.
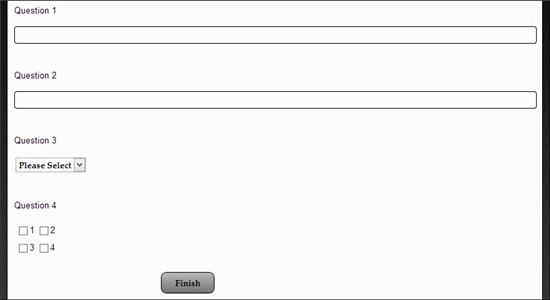
13. Choose the type of question you want to add from the dropdown menu:
- Text Box: This allows the survey taker to answer your question by typing a response into a text box.
- Dropdown List: This allows the survey taker to answer the question by picking an answer from a list of options.
- Checkbox List: This allows the survey taker to answer the question by checking checkboxes (multiple answers can be chosen).
- Radio Button List: This allows the survey taker to answer the question by checking a radio button (only one answer may be chosen).
- Date: This allows the survey taker to choose a date from a calendar.
14. Click the Add New Question button.
15. Enter the question you want to ask in the space provided.
16. If you want survey takers to be required to answer the question, click the Answer Required checkbox (i.e. they will not be allowed to submit any answers unless they answer the question if you check this checkbox).
17. If you made the answer required by checking the checkbox, enter a message into the Answer Required Message field. For example "Please answer this question." or "You cannot submit the survey until you answer this question."
18 If you chose the "dropdown list, checkbox list, or radio button list" question type, add the answer options your survey takers will have from which to choose.
18. Click the Save Question button.
19. Add as many questions as you want. If you want to reorder the questions, use the little blue up/down arrow icons to change the order.
20. Once you have added all of the questions you want, go to the Choose Active Survey for Survey link.
21. Make sure you survey is active by clicking the Make Active link.
22. Whichever survey is marked "Active" will appear on the page.
23. Now go back to the page where you added the survey webpart and you will see your welcome message and a button that says "Start Survey" which, when clicked, will allow survey takers to begin the survey.
Download the Results of Your Survey
1. Click the Choose Survey link.
2. In the Responses column, click the little download icon.
3. The responses will be downloaded into a CSV file which you can open using Microsoft Excel.
Deactivate a Survey That is on a Page
1. Click the Choose Survey link.
2. Click the Active link next to the survey. It will change to "Make Active." This indicates that it is an inactive/hidden survey.