Upload Images to the SchoolFront Portal CMS Server
1. Once your new images are ready for usage on your CMS website (e.g. properly sized and saved to a format appropriate for the web), log into SchoolFront Portal CMS as an administrator.
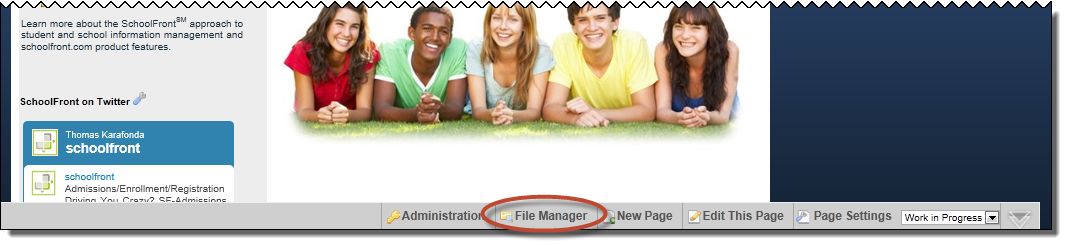
2. At the bottom of the screen, click the File Manager link.
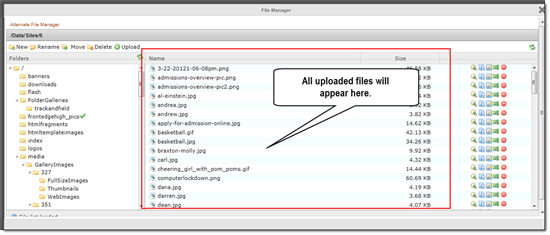
3. This is the File Manager screen (below). This is the place where all files associated with your CMS website are stored (everything from code source to images, videos, documents, and more).
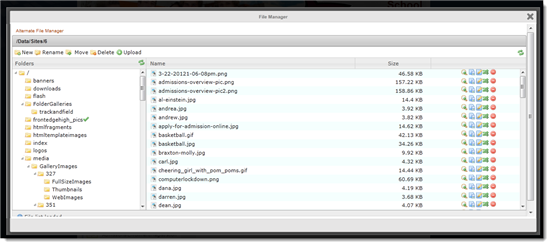
4. The folder structure is displayed on the left. You can open and close the folders by double clicking on them. You can tell which folder you are in by the little green checkmark icon. The contents of the folders are displayed on the right.
 5. Using the address/URL you got from the image properties of the image(s) you wish to replace or add to, find the appropriate folder. In the example address/URL from above, the folder I am looking for is "frontedgehigh_pics." I can open that folder by double clicking it on the left side.
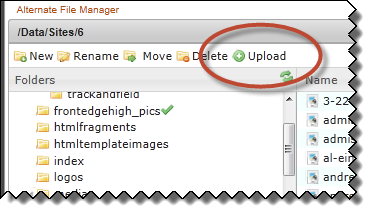
Note: If you are having difficulty finding the folder, it is ok to create a new folder. There is a link at the top of the screen called New which will allow you to add and name a new folder (the folder will be placed inside whichever folder you currently have opened (i.e. the one with the green checkmark beside it).
6. Now (depending on the method you chose) either open the folder from the Address/URL or open the new folder you created--again, you open a folder by double clicking on it and a green arrow will indicate that it is open.
7. Once the folder is open, click the Upload button.
8. Navigate to the image files you saved on your computer and upload each of them. You will know the upload is complete when you get the File Uploaded message.
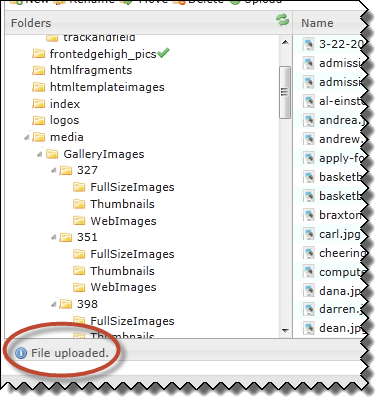
9. You can tell that the file is uploaded by looking for the file name in the right part of the file manager screen.