Assigning Students to a Group in SchoolFront
The concept of a "group" is employed by many different schools in different ways. Examples:
- A military boarding school may assign each student to a Company--Alpha, Bravo, Charlie, Delta, etc.
- A school serving students in grades 7 to 12 may have some students with special needs--Special Needs or Extra Support, etc.
- Large schools may divy students in each grade into Teams led by specific teachers--Orange Team, Blue Team, Red Team, etc.
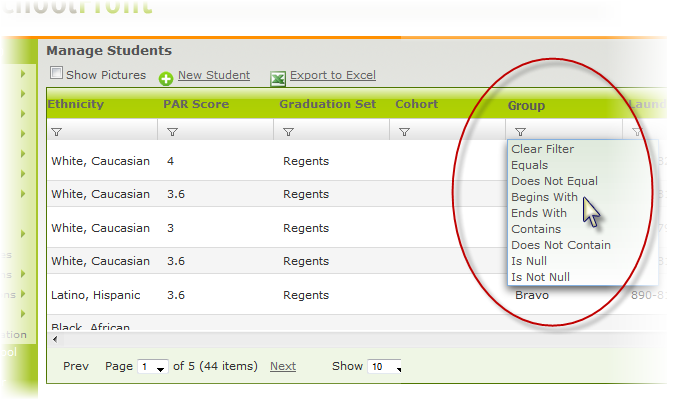
Student Group is a column in the the Manage Students grid, so if each student is assigned to a group, you can sort and filter student records by the group, making it easy to quickly acquire an up to date list of students and student academic information in the grouping at any time.
Student grouping is optional in SchoolFront. If you do not assign students to groups there will be no adverse impact to your system or configuration.
If you DO wish to use student grouping capability, currently you can only assign each student to one group in the system. If you require the ability to sort students into more than one grouping per student, please submit a feature request and explain why you need the functionality.
Applicable System Roles
System users with the following roles can do this:
Step-by-Step Instructions
Add / Edit Student Groups
Before you can assign students to a group, you must define the groups in the system.
1. Log into SchoolFront as an Administrator user.
2. In the left navigation bar, place your mouse on Feature Administration, then Feature Administration page will appear.
3. In the Students section, click Student Groups.
4. Click New Student Group (green plus icon).
5. Fill in the Group Name (this is what will appear in the student profile) and Description. Description is optional.
6. Click the Insert / Save button.
Assign a Student to a Group
1. Log into SchoolFront as an Administrator user.
2. In the left navigation bar, click Manage Students.
3. Locate the Student in the grid and click it to open his / her profile.
4. Click the edit (pencil) icon on the Details tab.
5. Scroll down to the field called Group.
6. Choose the group from the drop-down menu.
7. Click the Save button.