How to Add Images to Your Notification Templates
Adding images to notification templates (e.g. your logo.jpg or some other graphic file) is not super easy to do in SchoolFront yet--in the future this functionality will be improved upon and be made easier. Doing so now will require that you reference an image already on the Internet. To do so you will need to edit the Notification Template HTML source code.
We'll outline the steps below, but please feel free to submit a problem to the SchoolFront Support Team if you have difficulty understanding or following the instructions.
Step-by-Step Instructions
-
You will need to either find an image on the Internet that you want to use (note: ensure you use images on the Internet legally to avoid issues), or upload your image file to someplace on the Internet--for example, you could use an image that is already on your website such as your logo or an image from your image gallery. Again, if you cannot figure out a place to put your image, please submit a problem to the SchoolFront Support Team and they will help you.

-
Once the image is uploaded or you find an image online that you want to use, you will need the image's URL. To get the URL you can often right-click the image with your mouse and click something like "Copy Image Location" which will copy the image URL to your clipboard. You will need this URL to reference the image.
-
Go to SchoolFront and login as an administrator.
-
Place your cursor on Manage Notifications in the left navigation menu and then click Manage Templates in the sub-menu.
-
Open the template into which you would like to add the image. If you have not yet created any templates, start by adding templates--instructions are here.
-
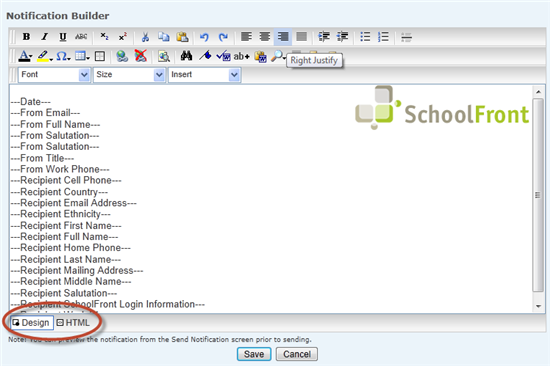
On the Details tab, click Notification Builder.
-
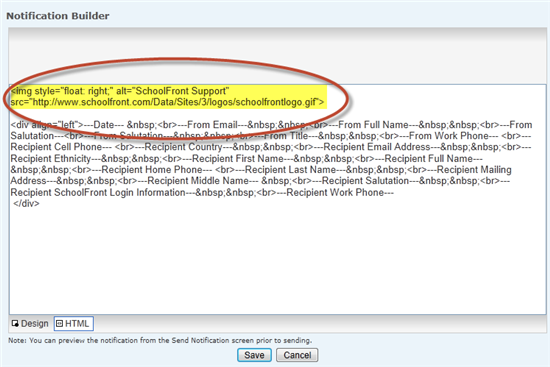
At the bottom of the Template Editor, click HTML.
-
Enter the following code in the place in the HTML where you want the image to appear:
<img alt="Cat" src="http://www.catisgreat.com/Data/Sites/3/logos/catslogo.gif">
-
In your code, swap "Cat" for a verbal description of the image--for instance "My Logo" or "This is a picture of a rainbow."
-
In your code, swap "http://www.catisgreat.com/Data/Sites/3/logos/catslogo.gif" for the URL of your image. Make sure you include the "http://" part as well as the ".gif, or .jpg, or .png."
-
If you are familiar with HTML you can add further code to change the size of the image, align the image to the right or left, etc.
-
For example, this change to the code will make the image go to the right: <img alt="Cat" src="http://www.catisgreat.com/Data/Sites/3/logos/catslogo.gif" style="float: right;"/>
-
This change to the code will make the image go to the left: <img alt="Cat" src="http://www.catisgreat.com/Data/Sites/3/logos/catslogo.gif" style="float: left;"/>
-
Click the Design button and confirm that your image is now showing up in the template the way you wanted. At this point you can use the normal Template Editor buttons, like left-, right-, and center justify to move the image around in your template.